Why Your Wood Wick Candle Won't Stay Lit (And How To Fix It)
Wood wick candles offer a unique, crackling experience, but sometimes they can be tricky to keep lit. This page will help you understand why your wood wick candle may struggle to stay lit, with common causes like wick length, tunneling, or improper trimming. You'll also find easy fixes to ensure a smooth, even burn every time, so you can enjoy the cozy ambiance wood wicks are known for.

Wooden wicks add an extra layer of coziness to your space, but they can take some getting used to if you're unfamiliar with them. You may encounter a few common issues when using a wood wick candle for the first time. Don’t worry – we’ve got you covered with tips to help you enjoy your candle to the fullest.
Here are some possible reasons your wood wick candle keeps going out:

1. The First Burn is Crucial – Here's How to Get It Right
On your candle's first use, it's important to allow enough burn time for the wax to melt evenly across the entire surface, reaching the edges of the container. This process can take a few hours depending on the size of the candle.
Surprisingly, your candle has a kind of “wax memory.” Once the wax forms a burn pattern, it can be difficult to correct, so setting the stage with that first burn is key to ensuring an even melt every time.
If you don’t allow your candle enough time to create a full melt pool on the first burn, you might notice a small dip or “tunnel” forming around the wick. This tunneling effect makes it harder for the wax near the edges to melt properly, causing the issue to worsen with each burn.
Over time, the tunnel can become deep enough to limit oxygen flow, making it difficult to keep your candle lit for more than a short period. To avoid this, let your candle burn long enough on its first use for the wax to melt evenly all the way to the container's edge.
This practice is essential for all jar candles, not just wood wick ones! Depending on the candle size, it can take about 2 hours or more for the melt pool to form. So, light your candle when you have time to spare — sorry, couldn’t resist the pun! ¯_(ツ)_/¯
After the first burn, you don’t have to create a full melt pool every time, but doing so occasionally helps extend your candle’s life. It also “resets” the wax memory, preventing future tunneling.
This will keep your candle burning evenly, looking great, and smelling amazing for longer.
If you're already facing the dreaded tunneling issue, don't worry! You may still be able to fix it—see tip #3 & #4 below.
2. The Wick is Trimmed Too Short
While a short wick is necessary to properly pull the wax up, cutting it too short can cause problems. If the wick is too short, it may drown in the wax, struggle to light, or burn with a very low flame. Don’t hesitate to leave it a bit longer than 1/8” and adjust as needed.
Candle Tip #1: Trimming your wick is essential for ensuring a proper burn. You can trim your candle’s wick using a wick trimmer, scissors, or even a nail cutter. In a pinch, gently breaking off the burnt parts with a napkin and your fingers works too! Keeping your wick at the right length helps your candle burn cleanly and evenly. However, this isn't necessary as the wood wick will naturally trim itself, but if you see it's not doing it, then it might need a little help.

3. How to Fix a Candle That’s Tunneling:
If your wood wick or jar candle has developed tunneling from shorter burns, there’s usually a way to fix it. Here’s what you can do:
Best option: If the candle will stay lit, give it a long burn until the wax melts all the way to the edge of the jar. This will help “reset” the wax memory.
The flame height may fluctuate during this process, but as long as the candle stays burning, it should continue to form a full melt pool. Just be patient!
4. If your candle won’t stay lit because it’s “drowning” in excess wax, try this:
Use a paper towel or napkin to carefully soak up some of the extra wax. Wait a minute or so, then relight your candle. Repeat this process until the wick has enough room to breathe.
If that doesn’t work, some people try scraping out the wax near the edges or creating a small dome of aluminum foil around the rim of the jar to help melt the hard wax along the edges.
These are last-resort options, so results may vary, but they could help salvage your candle!

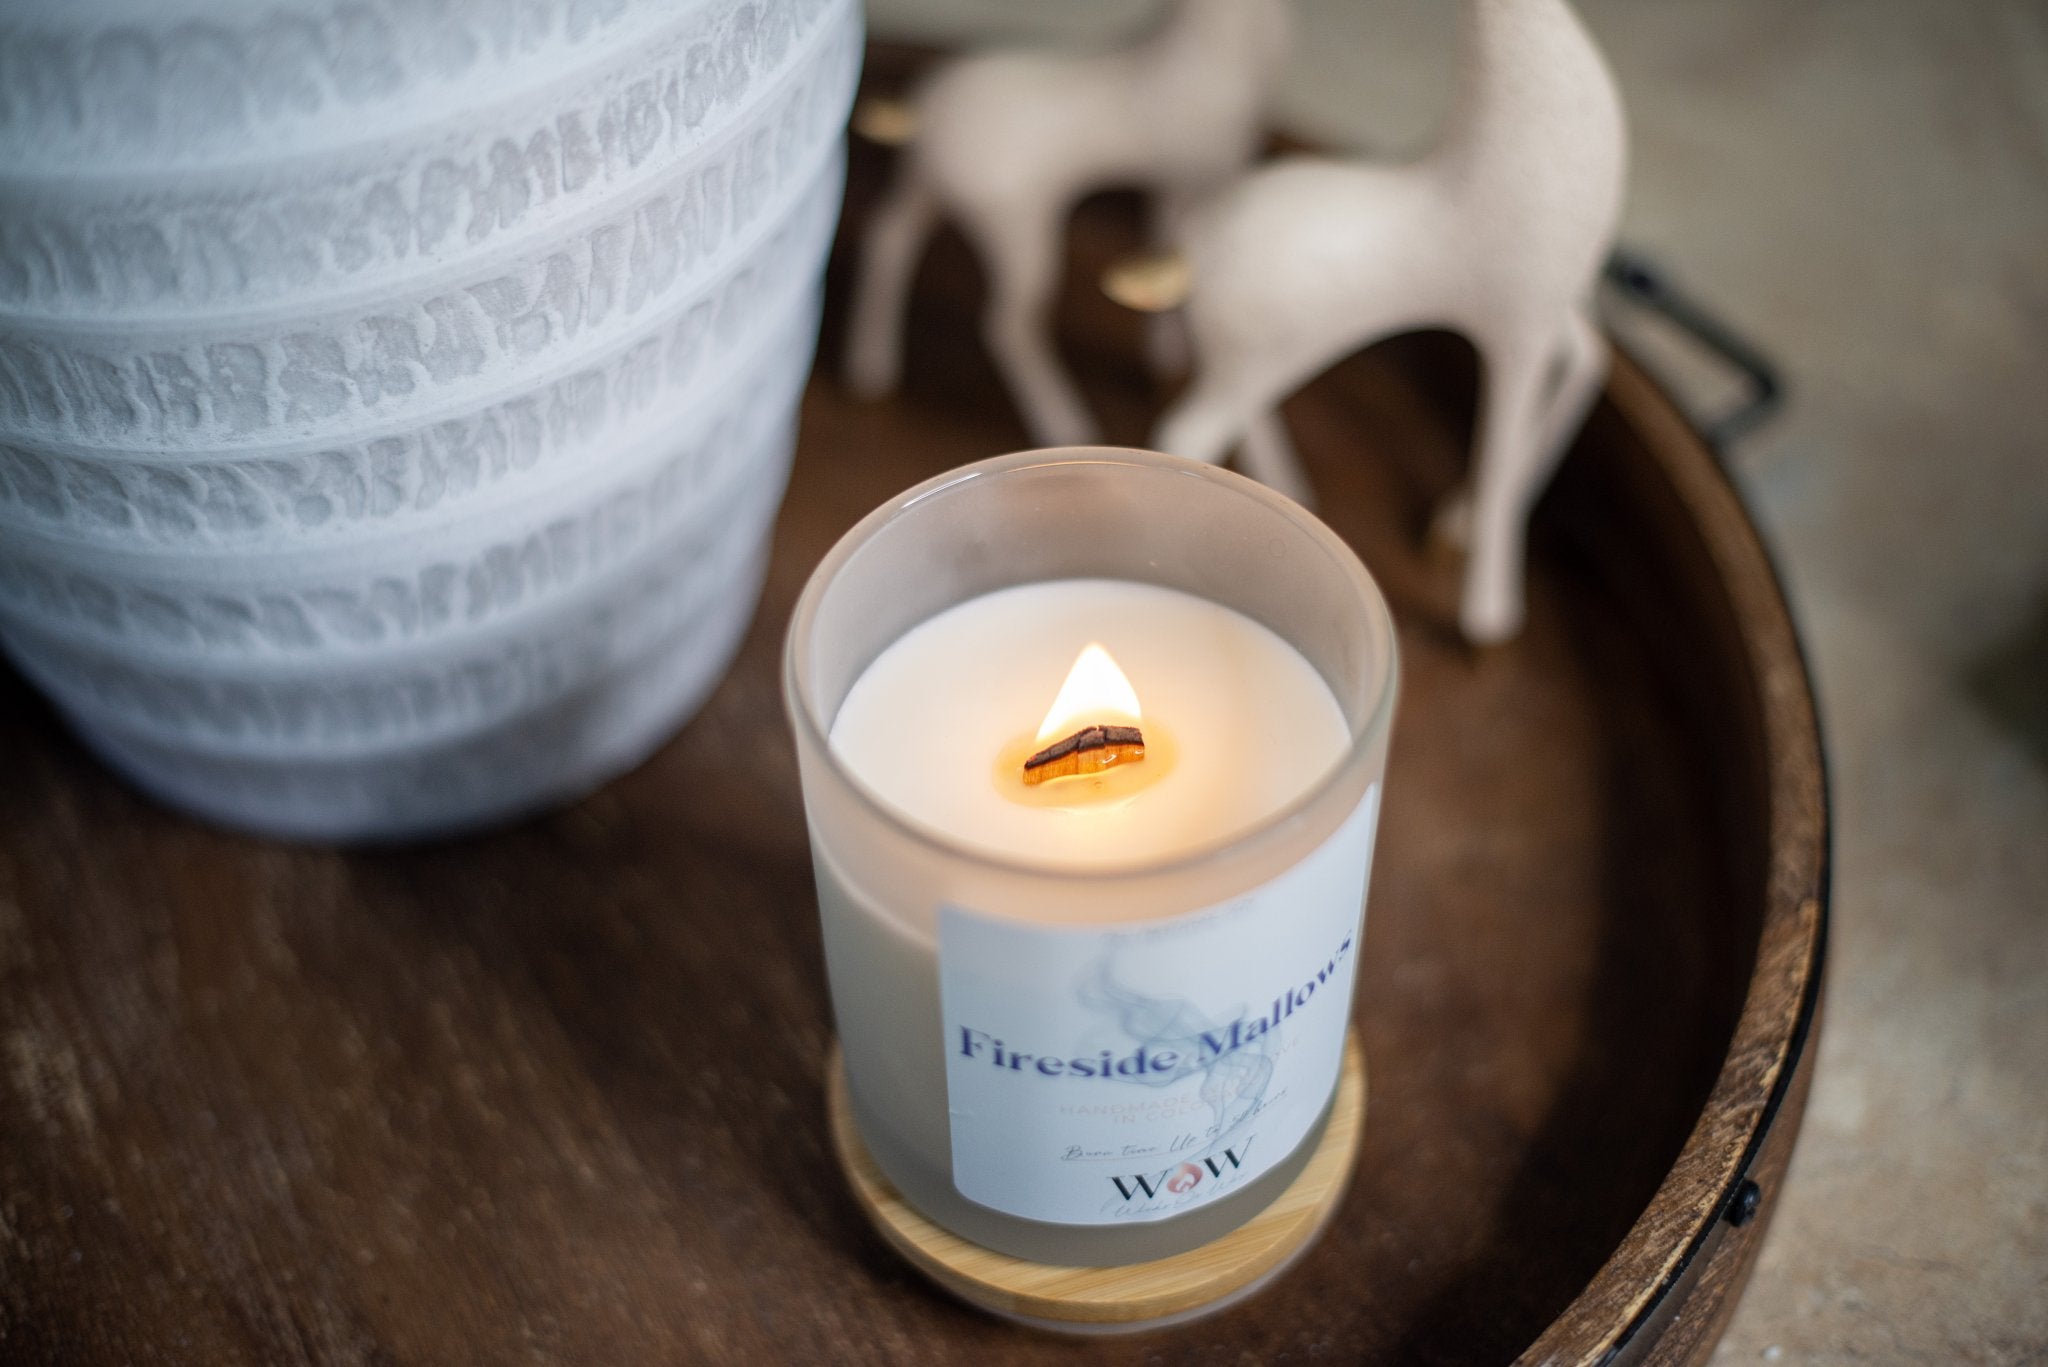
See that full pool of wax?... BEAUTIFUL
When lighting your candle for the first time, it’s essential to keep it lit for at least 2 hours. This allows the wax to melt evenly across the entire top surface, reaching about 1/4 inch deep. A full, even melt pool on that first burn prevents tunneling, ensuring a cleaner, longer-lasting burn for every use.
Make the most of your WOW candle by giving it the perfect start!
